3Dでゆるキャラ「ほっとさん」を作ってみよう!【その2】3Dプリントサービスを使ってみた。


Warning: Use of undefined constant width - assumed 'width' (this will throw an Error in a future version of PHP) in /home/paka3/en3.jp/public_html/wp-content/plugins/paka3_shortCodePostLink/paka3_shortCodePostLink.php on line 77

Warning: Use of undefined constant width - assumed 'width' (this will throw an Error in a future version of PHP) in /home/paka3/en3.jp/public_html/wp-content/plugins/paka3_shortCodePostLink/paka3_shortCodePostLink.php on line 82

3Dプリントは高い。

[st_af id=”54997″]

基盤モデルからのポージング

モデリングが終わって(その1参照)このまま3Dプリントへ…というのもありなのだけど、ポージングなどちょっと工夫をしたかったので、結局「Sculptris」のデータを出力し、Blenderというモデリングソフトに読み込ませて調整をしました。

s2015

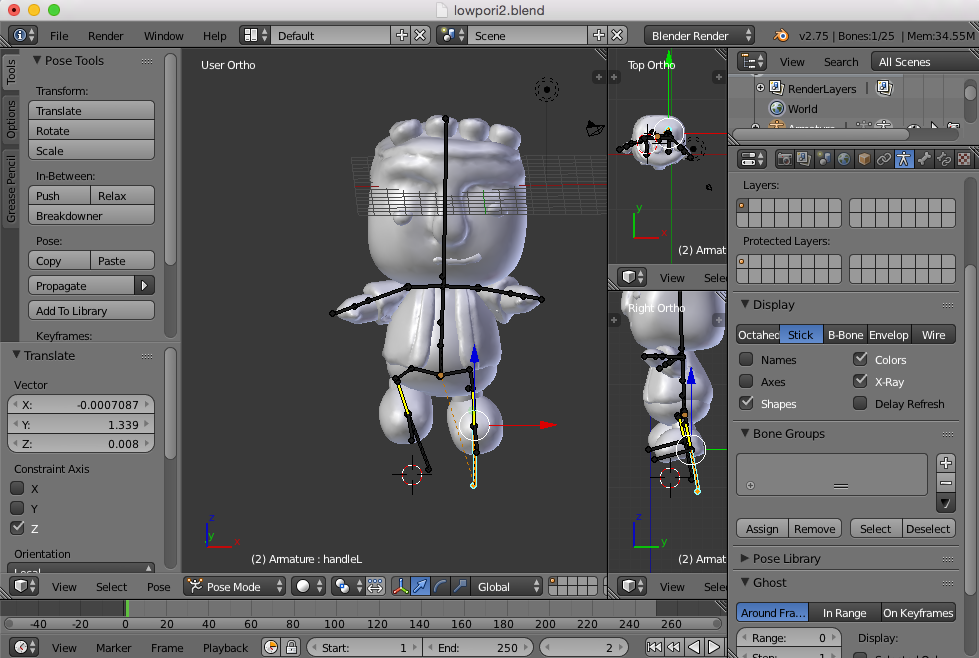
調整した内容は、「ポリゴン数の調整」と「ボーン」を入れる処理。ポリゴン数は、作成時少なくしたので滑らかにするように増やしました。あと「ボーン」とはですね。3D「ほっとさん」に骨をいれて、自由にポージングがとれるようにしました。

※ポリゴン数の調整はこちらのページを参照
※Blenderのボーンについてはこちらのページに書いています。

…このあと細かい部分の修正は再度「Sculptris」で読み込ませても良いかも。

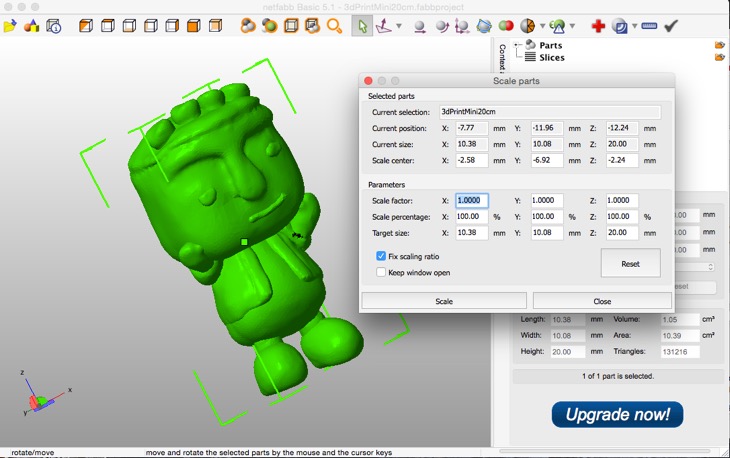
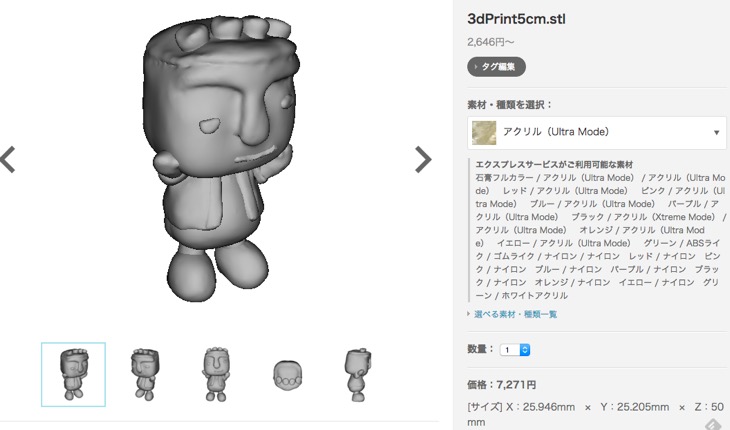
3Dプリンタ用のデータ「STLファイルの作成」

さて、モデリングが終わり3Dプリンタへの作業。3Dプリンタに読み込ませるには「STLファイル」を準備。「netFabb Studio Basic」というアプリを使って作成したモデリングしたファイルを読み込ませます(エラーがあれば赤くなり、修正可能)。ここで実寸サイズを設定し、STLファイルを出力。

th_07

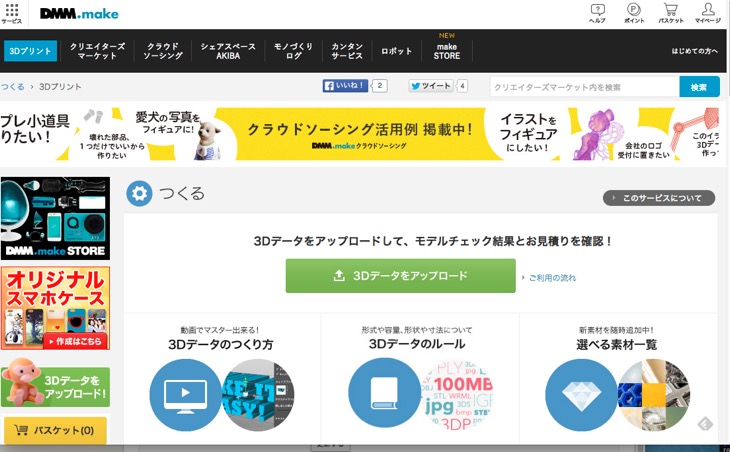
今回は、DMM.makeに発注してみた!

さて、実際にデータが出来上がったけど、 3Dプリンタなんて持ってないので今回は、TVのCMでもよく見るDMM.makeの3Dプリントを使って発注してみました。ここはできあがる素材の種類も選べます。こういうサービスもいちど使ってみたかったので、なかなか良い経験です。

th_45

※時間があればファブラボ大分に行くのが一番オススメ。でも今回、コレを使ってわかったことが。

失敗もあり!2回発注しました。

で、実際に発注して1周間くらいでできあがるのですが、最初発注サイズをまちがって・・・。サイズが・・・極小高さ1.8cmぐらいの人形が到着・・・。

しっぱいしたーーーー!

11206038_928939787177634_7670763133053347674_n

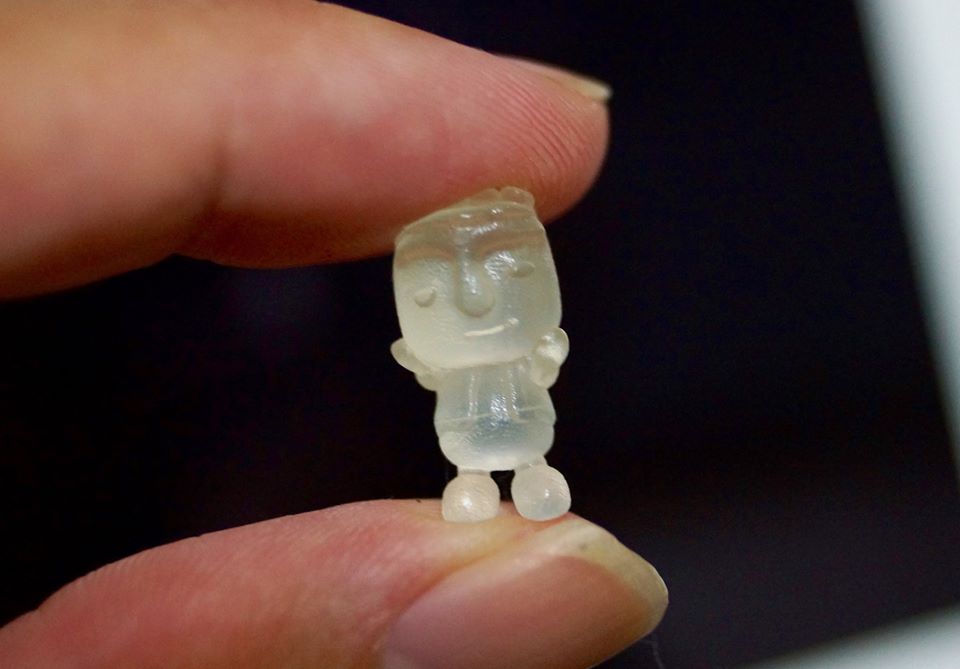
さすがに色を塗ったり、写真で撮るのが困難なので、再度、高さ5cmぐらいにして発注(痛い出費)。
12079723_934234879981458_1720570000776077673_n

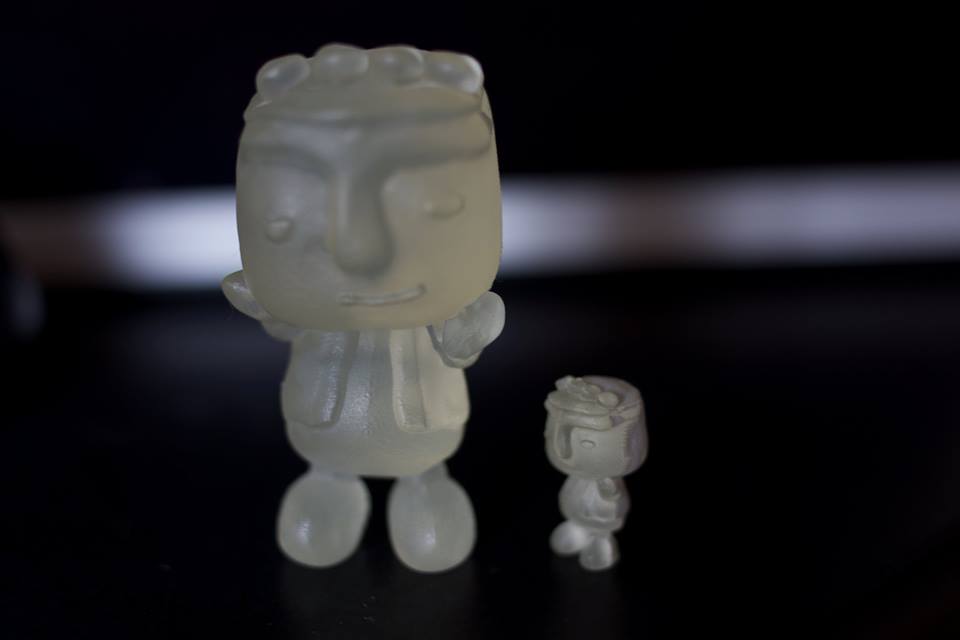
こんな感じで、3Dプリントされた「ほっとさん」ができあがりました。
次回は「量産〜色塗り〜完成」を書きます。

教訓、3Dプリントは高い

今回、素材をアクリルにしてDMM.make発注したのですが相場というものをはじめて知りました。

高さが1.8cmで2,000円ぐらい、高さ5cmの大きい方で7,000円…うわーこれは高いなぁ。でも相場はこんな感じなのかなと思います(DMMは送料無料)。
th_33

※素材が石膏だと安いんだけど、この手のやつは樹脂やプラのほうがいいからなぁ。本気で3Dプリンターを買うか!という気分になってしまう。おすすめがあれば教えて下さい(o_ _)o


※3Dほっとさん制作日記